
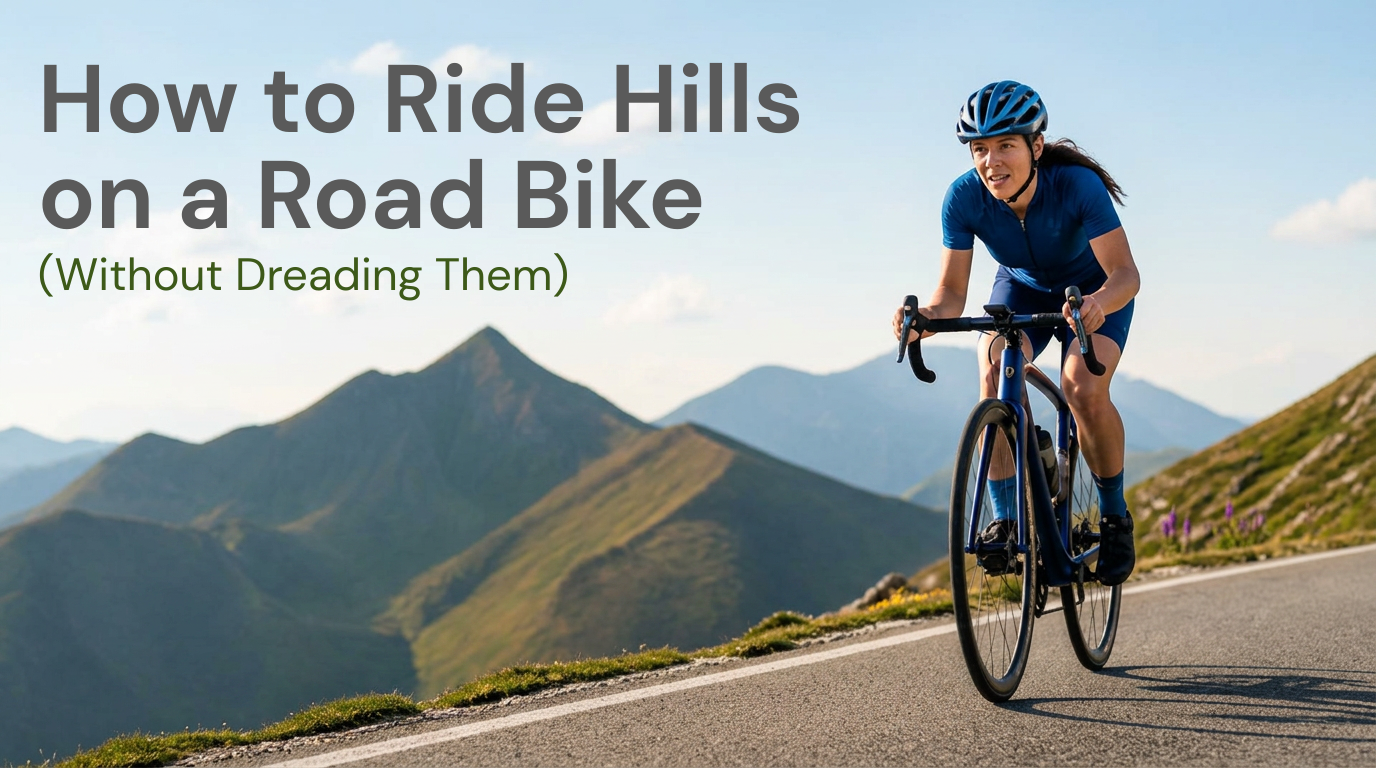
If you’re new to road cycling, or you’ve been riding a while but mostly on flatter routes, hills can feel intimidating.
You see the gradient ahead and think, “Here we go… I’m going to blow up, crawl, and maybe swear at my bike.”
The good news: you don’t need to be a “climber” to ride hills well. You need a few simple skills: pacing, gearing, body position, and mindset. And you need to practice them consistently in a way that fits your real life.
This guide breaks down how to ride hills on a road bike without dreading every incline.
Big Picture: What Makes Hills Hard
Hills feel hard because they:
- Require more power for the same speed
- Expose any gaps in gearing, fitness, or pacing
- Push your heart rate and breathing up quickly
For busy riders who also lift and work full-time, you’re often riding with some fatigue already in the system. That makes smart technique and pacing even more important.
Instead of seeing hills as tests you’re “failing,” think of them as skills you’re learning.
Step 1: Look Up and Plan Ahead
A lot of hill stress comes from getting surprised by the gradient.
As you ride:
- Look up the road so you see hills coming.
- Note:
- Where the hill starts
- Rough gradient (is it a small rise or a wall?)
- Whether it looks short, moderate, or long
On the approach:
- Shift down a few gears before the hill truly starts. Your cadence (how fast you pedal) should increase slightly, but you should still feel like you’re putting some power down.
- Avoid leaving it late and trying to drop several gears under a heavy load—that’s how chains skip or derailleurs struggle.
Think of it as “softening the landing” into the climb rather than crashing into it.
Step 2: Use Your Gears (Lower Than You Think)
Grinding up a hill in a big gear is a fast way to get miserable.
Guides for beginners emphasize: use your gears to maintain a sustainable cadence, often in the 70–90 rpm range if the gradient allows.
Practical tips:
- On the approach, drop to an easier gear than you think you need. It’s always easier to go up one gear if you feel good than to rescue yourself from a too-heavy gear.
- If the hill is steep or long and you have multiple chainrings:
- Use your front shifter to drop to a smaller chainring early, then fine-tune with the rear gears.
- Try to avoid big gear changes under maximum tension. If you’re stuck in a heavy gear and the shift won’t happen, slightly ease your pedal pressure or, if safe, ride a tiny bit sideways to reduce chain tension.
If you live in a hilly area, consider a compact crankset and a wide-range cassette. Even pros use lower gearing on mountain stages—it’s not “cheating,” it’s smart.
Step 3: Pace Yourself (Don’t Sprint the Bottom)
One of the most common beginner mistakes: attacking the base of the hill like a sprint.
Instead:
- Start the climb at a controlled effort—you should be working, but still able to speak in short sentences.
- Avoid going “into the red” immediately, especially on longer hills.
- If you use heart rate or power:
- Aim around a steady zone you can hold for several minutes, not all-out efforts you can only sustain for 30 seconds.
On shallower or rolling climbs, you can use momentum:
- Carry speed from the flat or downhill into the base.
- Then settle into a sustainable pace rather than letting all your speed die instantly.
Think: steady and smooth, not “hero for 20 seconds, miserable for five minutes.”
Step 4: Sit vs Stand (And How to Do Both)
Most climbing guides agree: for longer hills, it’s generally more efficient to stay seated if you can.
Seated climbing:
- Keep your head up and your grip relaxed.
- Aim for a still upper body—no big swaying or wrestling the bars.
- Focus on smooth pedal strokes, not stamping. Think “turning circles.”
Standing (out of the saddle):
- Useful for:
- Short, steeper ramps
- A change of position on longer climbs
- Brief sections where you want a little extra power
- Before you stand:
- Shift up one gear so you don’t spin out.
- When you stand:
- Allow a natural, gentle side-to-side motion of the bike, but don’t exaggerate it.
Alternate sitting and standing on longer climbs to keep muscles and mind happier, but default to seated for efficiency.
Step 5: Relax Your Upper Body
Tension wastes energy.
Whether seated or standing:
- Keep your shoulders and neck relaxed.
- Avoid clenching your hands tightly on the bars.
- Let your elbows have a small bend.
On slippery or wet surfaces:
- Stay seated if possible.
- Drop your chest slightly toward the bars and shift forward on the saddle to improve traction.
When you feel yourself fighting the bike, consciously take a breath and soften your grip.
Step 6: Use Rhythm and Mental Tricks
Hills are as mental as they are physical.
Many experienced climbers use rhythm:
- Counting pedal strokes
- Mentally dividing the climb into sections (to the next bend, tree, signpost)
- Sometimes even humming a tune
You can:
- Pick a “target” up the hill (a mailbox, lamp post, curve).
- Focus only on reaching that, then pick the next one.
- Tell yourself, “I can always drop to my easiest gear and just keep turning the pedals.”
If a hill looks intimidating, commit to trying it in your easiest gear first—you’ll often surprise yourself with how far you get. And if you need to stop or walk? That’s ok. Every attempt is practice.
Step 7: Recover Smartly When the Hill Eases
When the gradient eases or you crest the top:
- Take a breath, but don’t completely stop your effort.
- Shift up a gear or two on the shallower section or downhill.
- Keep pedalling smoothly and carry some speed into the next rolling section rather than instantly coasting.
This “micro-recovery while moving” keeps your average speed up and makes the route feel less choppy.
Step 8: Practice Hills in Real Life (Without Killing Yourself)
You get better at hills by riding hills.
Suggestions:
- Pick one or two local climbs and ride them regularly. Measure progress by:
- How far you get before needing a break
- How your heart rate responds
- How your perceived effort changes
- Include easy hill repeats:
- Ride up in your easiest gear at a steady, conversational effort.
- Turn around and roll down easy.
- Repeat a few times.
If you live somewhere flat, you can:
- Mimic hill demands on an indoor trainer with low-cadence intervals.
The goal is building skill and confidence, not maxing out every climb.
Step 9: Fuel and Recover Around Hills
Climbing magnifies poor fueling.
For hill-heavy rides:
- Eat carbs before you ride (see your “What to Eat Before a Ride” article).
- Bring simple carbs for rides over ~60–90 minutes (gels, chews, bars, bananas).
- Use flats and gentle downhills to eat and drink, rather than trying to fuel at your hardest effort on steep ramps.
- After the ride, have a carb + protein meal within 1–2 hours to support recovery (link to your “What to Eat After a Ride” and recovery guide).
For more fueling tips take a look at our Beginner Cycling Nutrition article and Best Energy Gels article for fueling options.
Step 10: Give Yourself Permission to Walk
Every climber has been humbled by a hill.
Sometimes:
- The hill is steeper than it looked.
- You picked the wrong gear.
- It’s just not your day.
There is no shame in walking:
- It keeps you safe.
- It protects your knees and back when things start to feel sketchy.
- It lets you reset and try again another time.
Over weeks and months, you’ll notice that hills that once felt impossible become “just part of the route” you can spin up without drama.
Where to Go From Here
You don’t have to love hills to ride them well—you just need to:
- Look up and plan ahead
- Use lower gears than you think you “should”
- Pace yourself instead of sprinting the base
- Stay mostly seated, with relaxed upper body
- Use rhythm and mental tricks
- Fuel and recover around your harder efforts
Next steps:
- Revisit Essential Road Cycling Gear for Beginners to make sure your gearing and setup support your hills.
- Pair this article with your Cycling Recovery Guide so your body can actually absorb the hill work.
- Use Beginner Cycling Nutrition and your pre-/post-ride guides to support hill days with better fuel.
With practice, hills shift from “the part you dread” to “the part you feel quietly proud of.” That confidence carries over into everything else you’re juggling—work, family, training, and the rest of your life.
Leave a Reply