
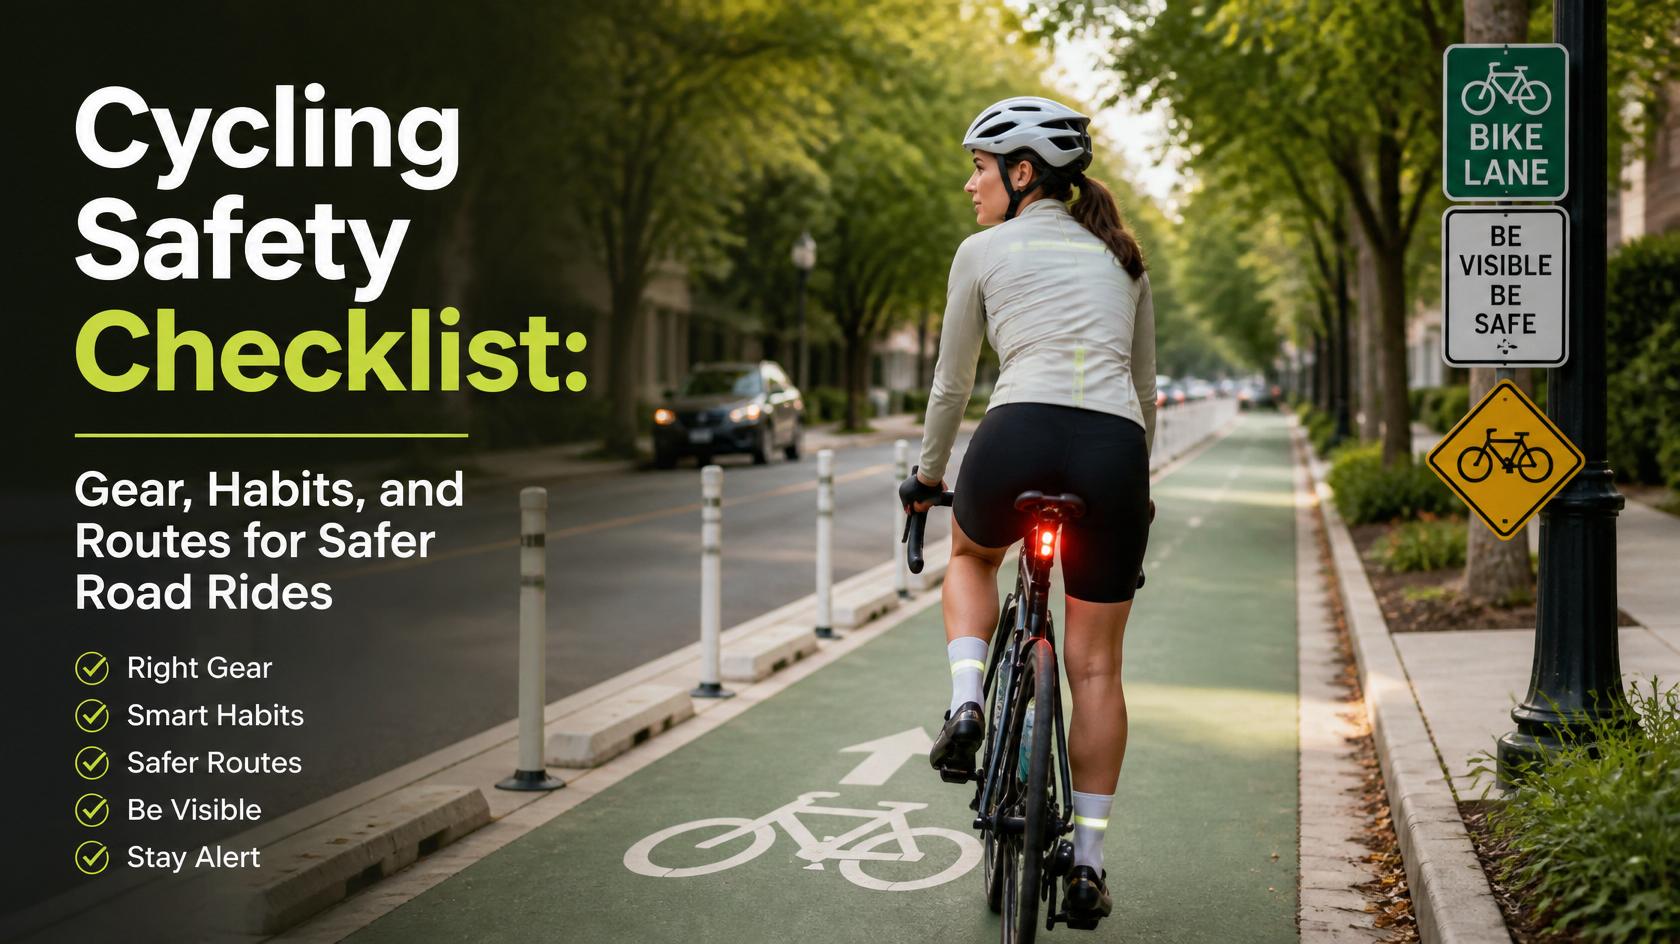
When you’re juggling work, family, and training, it’s easy to rush out the door for a ride and think, “Helmet, bike, done.”
But safe cycling, especially on real roads, takes a bit more intention.
You don’t need to turn every ride into a full audit, but you do need a simple safety checklist that covers: helmet, lights, visibility, route choice, traffic rules, and defensive habits. This guide is designed to help busy riders quickly check the essentials before rolling out.
1. Pre-Ride Bike & Helmet Check
Before you think about traffic or lights, make sure your equipment is safe.
Bike quick check:
- Brakes: Squeeze both levers to confirm they engage smoothly and firmly.
- Tires: Properly inflated, no visible cuts or sidewall damage.
- Wheels: Quick releases or thru-axles secure; wheels spin true without wobbling.
- Drivetrain: Gears shift smoothly; chain reasonably clean and lubricated.
Helmet check:
- Bike-specific helmet with no visible cracks or major damage.
- Fits snugly: level on your head, straps form a “V” under each ear, chin strap snug enough that the helmet moves when you open your mouth.
- Ideally includes modern rotational impact protection (MIPS, WaveCel, KinetiCore, etc.), since independent testing consistently finds these outperform basic foam-only helmets.
2. Lights: See and Be Seen (Day and Night)
High-quality lights are one of the easiest ways to improve safety. Modern guides emphasize using lights not only at night but also in daylight for visibility.
Basic setup:
- Front white light:
- Urban / “be seen”: lower lumen, wide beam.
- Unlit roads / “see and be seen”: higher lumen, focused beam.
- Rear red light:
- Bright, wide-angle visibility, ideally with a daytime flash mode.
Checklist:
- Batteries charged before you leave.
- Lights mounted securely and aimed correctly (front not pointing straight down; rear visible from behind).
- Consider running lights even in daytime on mixed-traffic routes.
3. Visibility: Clothing, Reflectors, and Positioning
Being visible doesn’t mean dressing like a construction cone every ride—but you do want drivers to see you.
Checklist:
- In low light or dawn/dusk:
- Some bright or contrasting clothing (especially upper body).
- Reflective elements on clothing or accessories (vest, ankle bands, reflective logos).
- On the bike:
- Basic reflectors installed or aftermarket reflective tape on frame/wheels, especially if you ride at night.
- Lane position:
- Don’t hug the gutter where you’re hard to see and debris is worse.
- Ride where you’re visible and have room to maneuver, within legal guidelines in your area.
4. Route Choice: Where You Ride Matters
Safety is heavily influenced by where you ride.
Checklist:
- Prefer bike paths, designated bike routes, and quieter back roads when possible.
- Avoid:
- High-speed multi-lane roads without shoulders.
- Areas with heavy truck traffic and poor sightlines.
- Use route-building tools like Strava, Garmin, or Ride with GPS to:
- Follow paths that other cyclists frequently use.
- Find lower-traffic routes that still fit your training goals.
If you’re riding alone:
- Let someone know your route and expected return time.
- Consider carrying basic ID and emergency contact information.
5. Traffic Rules: Ride Like a Vehicle
Cyclists should follow the same basic rules as cars where applicable.
Checklist:
- Ride with traffic, not against it… always travel in the same direction as cars.
- Obey signs and signals:
- Stop at red lights and stop signs.
- Yield where required.
- Lane positioning:
- Use appropriate lanes, signal when you move across lanes, and avoid weaving.
- Crossing streets:
- Don’t dart out from between parked cars or obstacles.
- Check left-right-left again, make eye contact with drivers, and cross only when you’re sure they’re stopping.
6. Defensive Riding Habits
Defensive riding means assuming other road users may not see you or behave as expected and riding accordingly.
Checklist:
- Stay alert for vehicles, pedestrians, road damage, and obstacles.
- Avoid distractions:
- No phone use while riding.
- If you use headphones, keep volume low and maintain situational awareness.
- Don’t ride hard when you’re extremely fatigued or unfocused; your reaction time and judgment suffer.
- Make eye contact with drivers at junctions and driveways when possible to ensure they’ve seen you.
You can pair this with your Cycling Recovery Guide so readers don’t push hard when they’re overly tired.
7. Essentials to Carry for Safety
Beyond bike and helmet, a simple kit helps you handle problems without turning them into emergencies.
Checklist:
- Repair kit:
- Spare tube(s)
- Pump or CO₂ inflator
- Tire levers
- Multi-tool
- ID & phone:
- Some form of ID, phone, and emergency contact information.
- First aid (especially for longer/remote rides):
- Small kit: bandages, antiseptic wipes, tweezers.
- Hydration & snacks:
- Water or drink mix (like Tailwind) and basic energy food.
- Weather & sun:
- Sunscreen, sunglasses, light jacket or vest if needed.
8. Clothing & Footwear Choices
The wrong clothing or footwear can introduce safety issues.
Checklist:
- Avoid:
- Very loose clothing that can catch in wheels or chain (long, flowy tops, skirts).
- Open footwear (flip-flops); use secure shoes.
- Prefer:
- Secure shoes that grip pedals.
- Clothing that doesn’t obstruct movement or visibility.
For more detail on clothing choices, you can link to your “What to Wear on Your First Road Cycling Ride” article.
9. Personal Comfort & Awareness
Being comfortable helps you stay attentive and safe.
Checklist:
- Nutrition & hydration: don’t start a ride very under-fueled or dehydrated, especially in hot climates like Georgia.
- Weather realism: dress appropriately for temperature and wind, and adjust route length or intensity if conditions are extreme.
- Heat planning: in hot summers, consider:
- Riding earlier or later in the day.
- Using drink mixes with electrolytes (like Tailwind) in your bottles.
- Shortening or adjusting intensity on very hot days.
10. Safety Gear I Trust
I only recommend helmets, lights, and safety gear with strong safety reputations and good build quality. I’d rather you buy once and feel confident than chase the cheapest option.
Here are the brands I personally trust and use:
Helmets
I look for modern rotational impact protection (MIPS, WaveCel, KinetiCore or similar) and good independent safety ratings, then choose models that fit well and suit the kind of riding I do.
- Bontrager (entry level):
Solid entry-level helmets with modern safety features and good value. A great starting point if you’re new to road cycling and want something reliable without jumping straight to a premium price tag. - Giro (my go-to):
My personal favorite brand. Giro offers a range of helmets from everyday road models to more performance-oriented options, with strong safety standards and a variety of fits and ventilation styles. - Specialized (aero / higher-end):
If you’re interested in more aero-leaning, performance-focused helmets and willing to invest more, Specialized makes higher-end models that balance safety, aerodynamics, and ventilation.
Front and Rear Lights
I’ve used various brands, but I strongly prefer lights that integrate cleanly with my existing tech and make it easy to stay safe.
- Garmin lights (front and rear):
Garmin’s front lights can sync with your Garmin head unit (bike computer) when you turn them on, making it easy to control modes and monitor battery levels. Their rear lights do the same; some rear units also include radar, which can alert you to vehicles approaching from behind on your head unit. This integration makes it simpler to keep lights on and working correctly every ride.
Sharing Your Location
If you ride alone or in traffic-heavy areas, sharing your live location can be an extra layer of safety.
- Strava Beacon:
Strava offers a Beacon feature that lets you share your location with selected contacts during rides. - Garmin LiveTrack:
Garmin’s LiveTrack can send a link to family or friends so they can see where you are in real time.
These features are especially useful for solo rides or longer routes.
Building Safer Routes
Route choice is a major safety factor, and bike-specific tools help.
- Strava, Garmin, Ride with GPS:
All three allow you to build routes, see where other cyclists frequently ride, and often highlight more bike-friendly roads or paths. They’re great for finding quieter back roads or popular training loops instead of guessing and ending up on unpleasant roads.
Repair Kit Items
For your repair kit, I focus on durable, easy-to-use tools and bags rather than the cheapest options.
- Spare tubes that match your tire size and valve type.
- A reliable mini pump or CO₂ inflator.
- Strong tire levers that won’t snap.
- A quality multi-tool with the sizes you actually need.
- A saddle bag or frame bag that keeps everything secure and dry.
Clothing
The right clothing helps both comfort and visibility.
- Pedal Mafia:
One of my favorite brands—great fit, fabrics, and style for regular road riding and training. - Pearl Izumi (beginner-friendly):
A solid, accessible brand for beginners. They offer a wide range of jerseys, shorts, and accessories that are easy to find and reasonably priced.
These brands let you build a wardrobe that’s comfortable and practical without sacrificing quality.
Footwear
Protecting your feet is important for both safety and performance. Fit matters, and many riders need a bit more space in the toe box.
- Fizik:
A favorite cycling shoe brand of mine, with models that balance stiffness, comfort, and style. - Bont:
Great option if you need or prefer a wider toe box. They’re known for more anatomical shapes and customizable fit, which can be a game-changer if standard shoes feel cramped.
Where to Go From Here
You don’t need a complicated ritual to ride more safely—you need:
- A quick pre-ride check of your bike and helmet.
- Reliable lights and basic visibility.
- Thoughtful route choice.
- Respect for traffic rules and defensive riding habits.
- A simple kit in case things go wrong.
- Gear from brands that take safety seriously.
Next steps:
- Use this checklist before your rides so safety becomes automatic.
- Pair this article with:
- Your Beginner Cyclist Checklist (for gear and first rides).
- Your Cycling Recovery Checklist (for staying sharp enough to ride safely).
- Your Group Ride Etiquette article (for safe riding with others).
- Your Beginner Cycling Nutrition and pre-/post-ride guides (for fuel and focus).
Leave a Reply